


How to Travel Like a Pro: A Complete Guide to Flights, Hotels, Packing & More
After visiting 80+ countries, we’ve stopped reinventing the wheel when planning every trip. The same travel tips come up again and again: how to book flights without overpaying, how to pack a bag we can actually carry, how to choose hotels worth the money, and how to get through airports without stress. This guide pulls together all our best flight booking strategies, packing systems, hotel tips, travel apps, and airport habits that have worked across every kind of trip.
🔎 At a Glance
| Best for | Travelers who want to stop overpacking, book smarter, and enjoy travel days instead of just survive them |
| Packing | A system for fitting two weeks into a carry-on without sacrificing comfort or versatility |
| What not to pack | The 8 things most travelers drag along that add weight and zero value — and what to bring instead |
| Booking flights | How we consistently get better seats and lower prices without chasing deals or spending hours searching |
| When to book | Earlier than most people think … but not always. It depends on the route and whether you’re using points. |
| Booking hotels | The direct vs. third-party question isn’t black and white. We explain exactly when each one wins. |
| Travel apps | The 11 apps we actually open on every international trip, and the specific problems each one solves |
| Airport strategy | A few habits that take the chaos out of travel days, from security lines to the gate to the ground experience |
| Ground transport | Why pre-booked private transfers almost always disappoint and what we do instead |
Heads up: Some links in this post are affiliate links, including to Amazon. We may earn a small commission if you book or buy through them, which helps keep our website running at no extra cost to you.
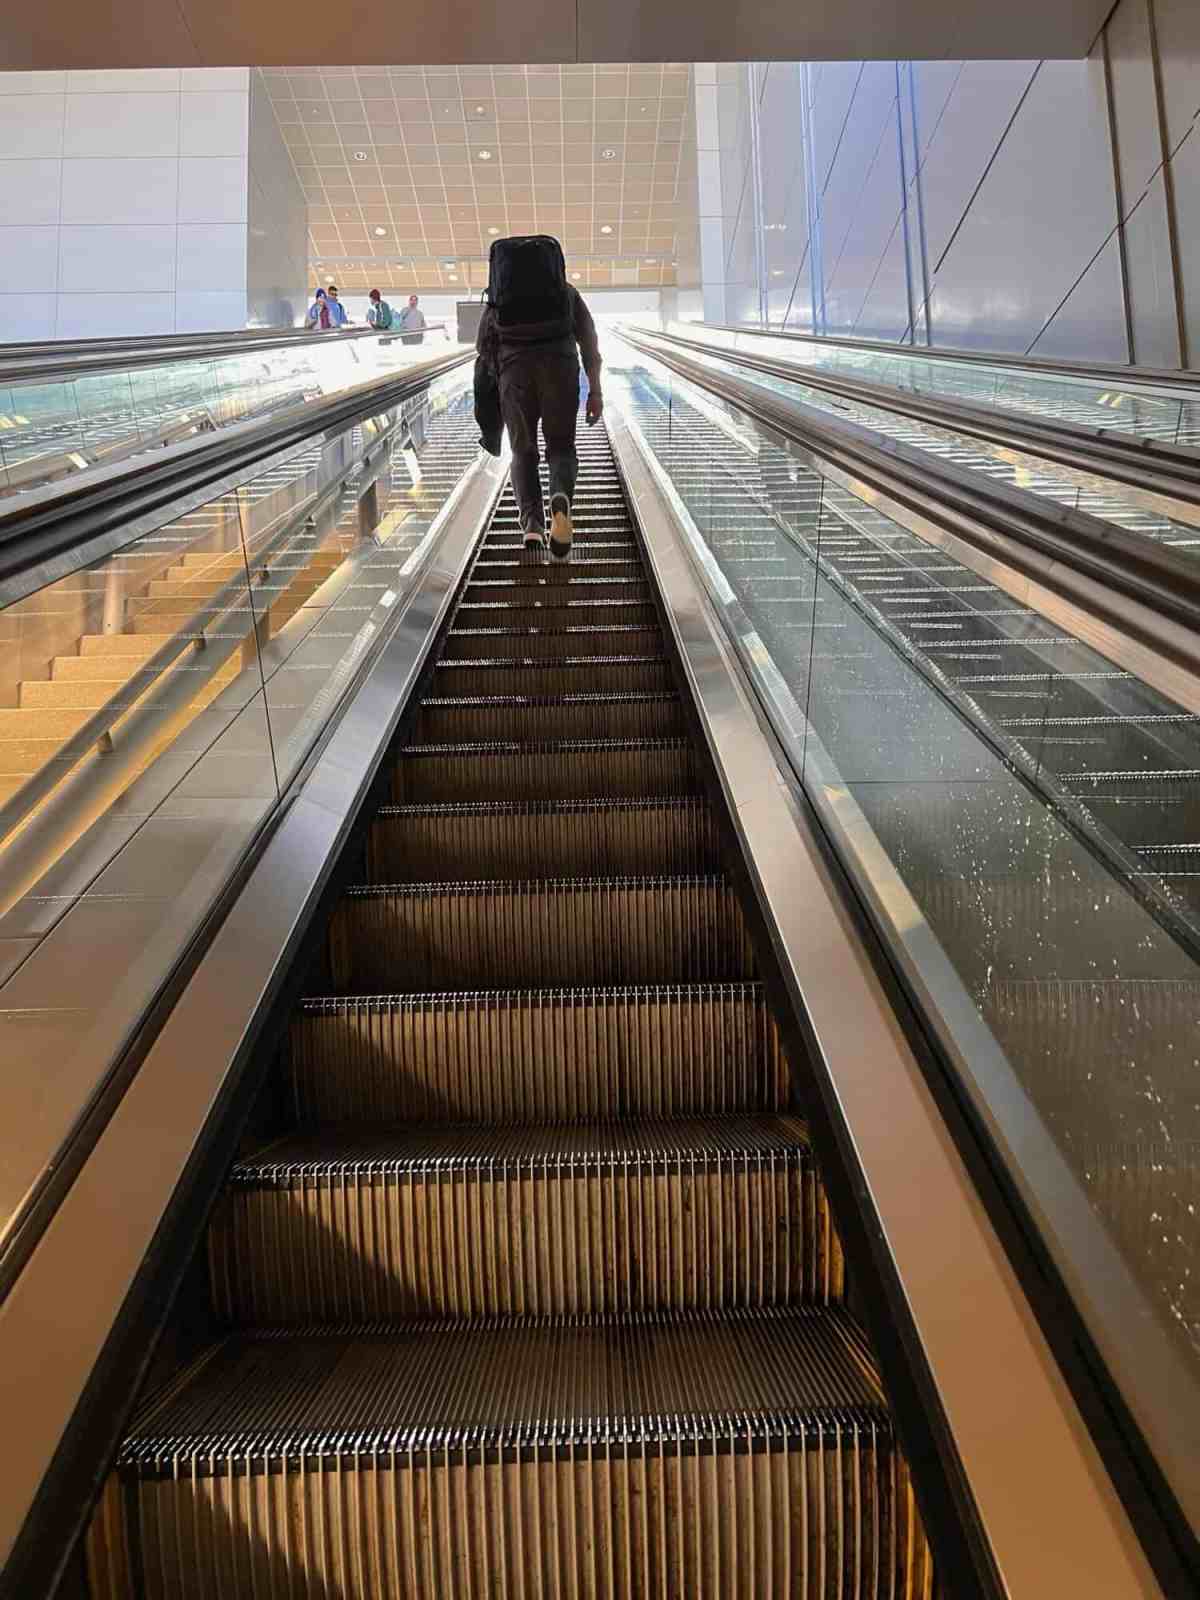
🎒 How to Pack Light
We see advice for packing light everywhere, but for us, less is still more. We prefer to travel with only a personal item or carry-on, whether it’s a backpack that fits under the seat or a small bag that goes in the overhead bin. After visiting 80+ countries, we’ve learned that traveling light makes every trip easier. We’ve never missed the extra stuff.
Why Packing Light Is Worth It
Packing light takes a bit of planning, but it’s absolutely liberating and cost effective. You don’t pay for a checked bag, wait at baggage claim, or risk a bag never arriving at all. Plus, it makes train travel and walking to accommodations significantly easier.
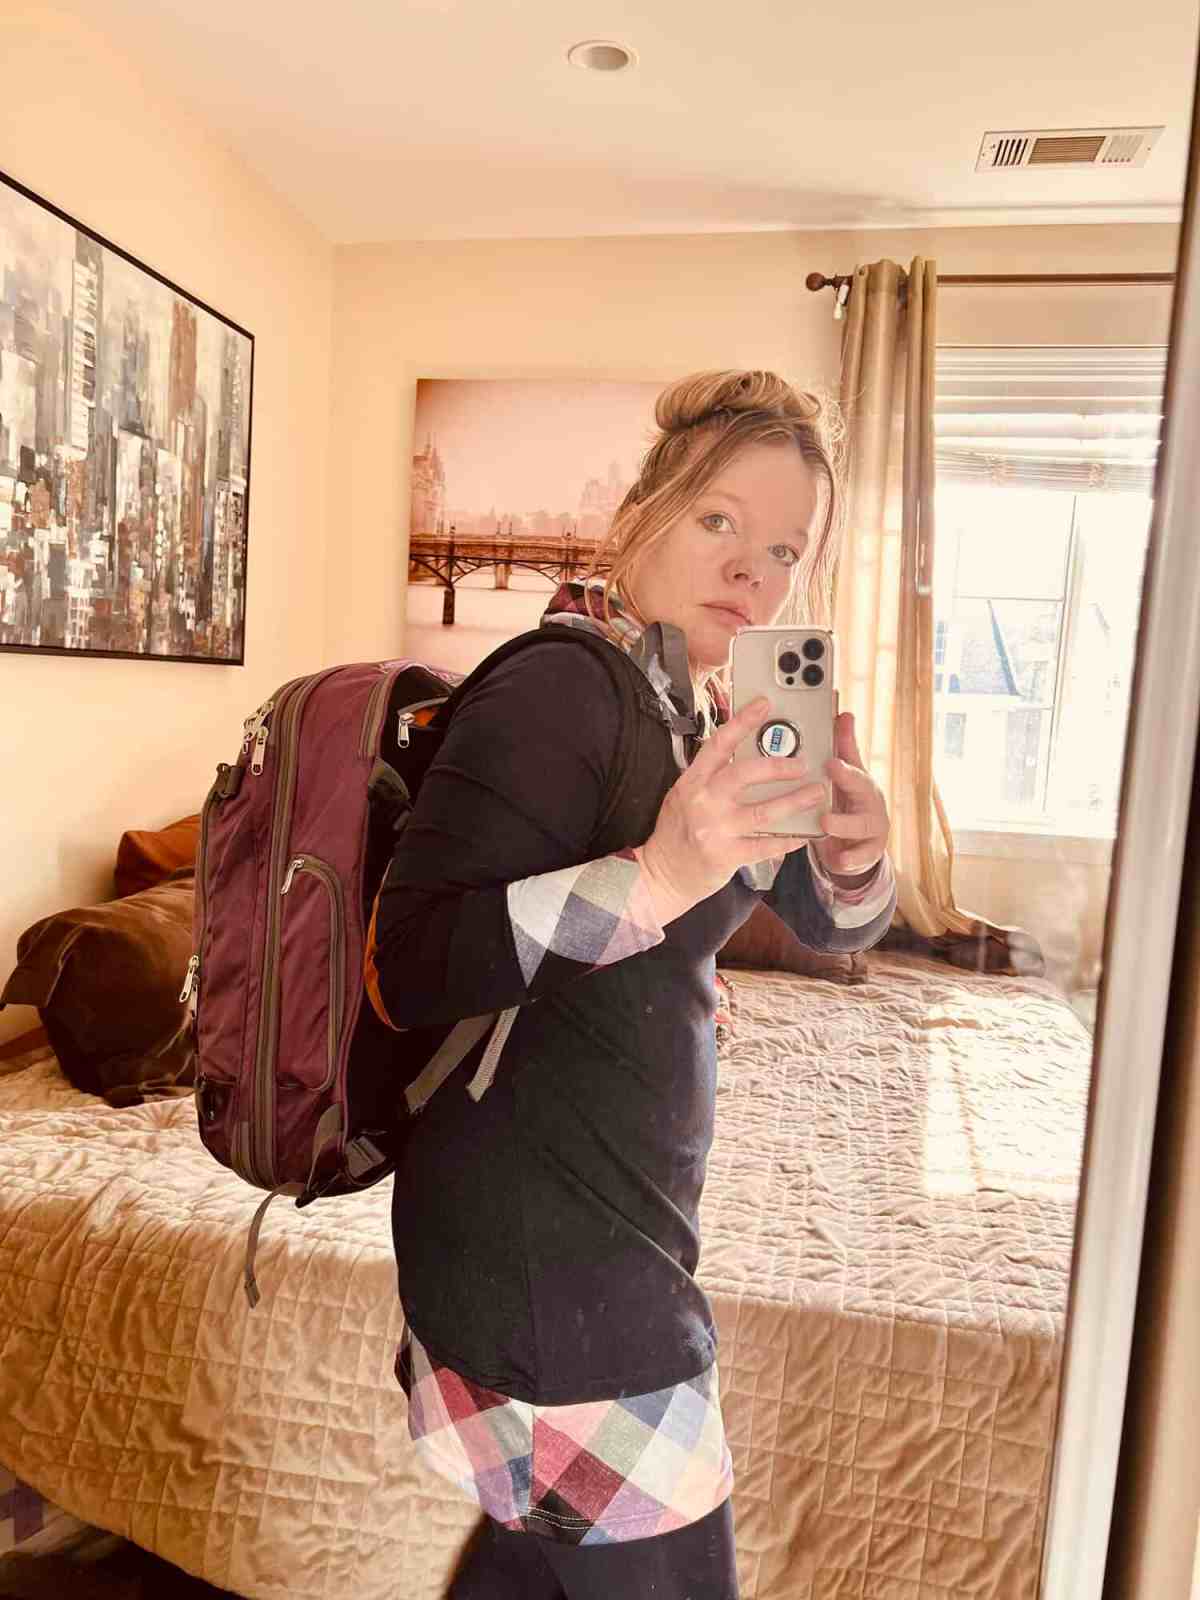
1. Start With the Bag, Not the Stuff
Bags are made to be filled, so as a general rule, whatever bag you bring will get stuffed. If you lay out everything you want to bring and find a bag big enough to fit it, you’ll just wind up bringing even more until the bag is full. Pick the bag you want to carry first, and don’t bring anything more than what fits comfortably. We use packing cubes and know how many cubes fit in the bag. When the cubes are full, we’re done packing. If it doesn’t fit, it doesn’t go.
👉 This is our favorite carry-on backpack
2. Bring Castile Soap
Toiletries can weigh your bag down, and castile soap is the wonder of wonders. It’s biodegradable, gentle on faces, bodies, and hair, and can be used as laundry detergent. A few 3.4 oz bottles and you won’t need many other products. Many toiletry products are now available in non-liquid forms, like bar shampoo and conditioner, to help with airport security limits.
Also worth remembering: you can buy almost everything you need nearly anywhere around the world. Shopping locally can be a great experience in itself.
👉We love Dr. Bronner’s Castile Soap
3. Pack Quick-Dry, Neutral-Colored Clothes
Quick-dry, wrinkle-free clothing is your best travel companion. Skip the jeans. They’re too bulky. Thinner material pants take up less room and dry faster. Black, gray, and brown work great for shirts and pants and can be accessorized with scarves or jewelry. Also, a thin raincoat doesn’t take up much room at all.
4. Bring Only 2.5 Pairs of Shoes
Wear your most comfortable, bulky pair on the plane and for heavy walking days. Pack one nice, versatile pair for nicer occasions, and maybe add flat flip-flops for the hotel or beach (that’s the .5 pair). That’s it. We both swear by Vessi waterproof shoes for travel. They keep your feet dry without getting hot.
5. Wear Your Bulky Stuff on the Plane
If we travel in winter, we wear our coats on the plane. They serve as a nice blanket if the journey gets cold. A travel-ready down jacket can fold into nothing in a corner of your bag, too. Always wear your bulkiest shoes on the plane and on travel days because they’ll take up too much precious space in the bag.
6. Wear Things Twice and Do Laundry
The biggest secret in travel is that literally no one cares if you wore the same shirt yesterday. Packing for just-in-case scenarios leads to a heavy bag and a lot of unworn clothes.
For warm weather, some active wear, a few sundresses, a sarong, a bathing suit or two, a hat, some scarves, and a shrug or two might be all you need. Throw your clothes in the hotel sink to soak while you shower and hang them to dry while you’re out for the night or sleeping. We bring biodegradable laundry sheets that take up very little room and don’t count as liquids.
The Capsule Strategy: Pack a color-coordinated capsule wardrobe with mix-and-match items and scarves or other accessories to change the look.
Pro tip: Rent an apartment or Airbnb with a washer halfway through your trip. Additionally, laundry services in places like Southeast Asia are often cheap, fast, and efficient.
👉 We always pack these laundry detergent sheets
7. Use Your Smartphone for Everything
Bringing too many electronics can really weigh you down. We use our phones for picture taking, movie watching, blog writing, reading, audiobooks, maps, hailing rides, and making phone calls. All we bring is the phone, earbuds, a small portable charger, and a universal adapter with several USB ports or a single 3-in-1 charger.
8. Plan Ahead
We don’t spend much time packing, but we do spend a lot of time thinking about what we’ll bring. What’s the weather like? Will we be on the beach or trekking through jungles? Think carefully about what you’ll actually need for the specific journey and bring only what makes sense. Don’t let weather get in the way of your adventure. Be prepared for rain, cold, and heat.
9. Ship Things Home
We don’t buy souvenirs for the most part, but every once in a while we may want to shop. In Hong Kong, it was cheaper to mail purchases home by slow ship than to pay for a checked bag. In New Orleans, we bought a beautiful painting and had it shipped home for a small fee. Shipping makes travel easier and helps protect purchases on the trek home.
🤓 8 Things Smart Travelers Never Pack
In addition to our strategy on packing light, here are the eight things we never bring:
1. Full-Size Toiletries
There is no reason to check a bag just to bring a 12-ounce bottle of shampoo on a plane. Bring travel-size containers, or better yet, know what your hotel already provides. Most standard hotels have shampoo, lotion, and even razors or toothpaste at the front desk if you forget yours.
👉 I’ve tried a thousand travel size bottles. These are my favorite.
2. A Heavy Hairdryer
Almost every hotel and Airbnb has a hairdryer. Even if it isn’t a high-end model, it will get the job done for a week. If you’re worried about styling, leave the heavy tools at home and use a no-heat strategy. I bring two soft curlers in my toiletry bag to create some tendrils and put the rest of my hair in a bun. It takes up almost no space.
👉 I love these soft curlers for travel
3. The Just-In-Case Pharmacy
If you lug around meds for every possible scenario, you’d be carrying a mobile hospital. We needed burn cream in Laos and cold meds in China, so we walked to a local pharmacy and got exactly what we needed for a fraction of the price at home. It’s part of the local experience.
The Essential Kit: We only bring what we’re most likely to need immediately: a few bandaids, Neosporin, and a small supply of cough medicine. For everything else, trust local infrastructure. It’s often cheaper and more effective.
4. Valuable Accessories and Jewelry
Theo loves his watches and I love my handbags, but we only bring one of each that goes with everything. We stick to our most neutral options. Why lug around expensive items that might get lost, stolen, or just take up space in a hotel safe? If I do wear jewelry while traveling, it’s inexpensive and versatile.
5. A Tangled Mess of Electronics
We love our gadgets, but we don’t bring all our devices on the road. We limit ourselves to a smartphone, earbuds (two pairs each, just in case, because they can be very expensive to replace on the road), and occasionally an iPad for long travel days. We leave everything else at home.
Keep the charging situation lean: We bring a single 3-in-1 charger, a universal adapter, and one brick each. We swear by Anker products.
These are the two accessories we love most:
6. Bulky Pillows, Blankets, and Towels
These are the ultimate space killers. Unless you’re camping or staying at a very basic hostel, your accommodation will have all of these things. Instead of a bulky blanket, use a hoodie you were already planning to bring. If you must have a neck pillow, consider an inflatable version that disappears into your bag when you don’t need it.
7. Physical Guidebooks and Multiple Beach Reads
Physical books are heavy, rigid, and take up valuable real estate. We almost always do audiobooks or read on our phone. For beach vacations, we have old-model, no-glare Kindles that were cheap enough we don’t panic about losing them. If you love paper, bring one paperback for the beach and leave it at a book exchange when you’re done.
8. Specialized Expedition Gear
Unless you’re climbing Everest, you don’t need to drop thousands at a high-end outdoor store before your trip. Most people just need basic cold weather gear and a practical layering system. If you’re going on a serious expedition, your guide will tell you what you need. They often provide the specialized supplies themselves. Don’t waste suitcase space on gear you’ll only wear once, or maybe never.
✈️ How to Book Flights Smarter
We’ve booked hundreds of flights over the years. Over time, we’ve figured out what truly helps us get better prices, more comfortable seats, and fewer booking headaches. You don’t need to chase mistake fares or spend hours searching every portal. You can book smarter by focusing on the strategies that consistently deliver more flexibility, better seats, and lower costs without wasting time or overcomplicating things.
1. Be Flexible, But Have a Plan
“Be flexible” is the most common travel advice out there. That’s easier if you’re retired or a digital nomad and much harder if you’re locked into school or work schedules with limited vacation options. We’re lucky that we can travel in the shoulder season, but we still need to maximize our paid time off by including weekends and paid holidays. We also need to limit our trips to less than 12 days for a variety of reasons. You can still be flexible within restrictions. Here’s how we do it:
- We start every search with Google Flights and leave dates open.
- If we’re not locked into a destination, we’ll look across multiple cities or airports to see what’s pricing well. Set your destination in Google Flights to “Anywhere” and see what deals you find.
- Even if we have a set destination, we always check whether leaving a day earlier or returning a day later makes a meaningful price difference. Sometimes Saturday to Saturday results in a huge cost savings. You can search a price grid in Google Flights to see the best dates all on one screen.
- We also look at nearby airports. In Washington, DC, we have DCA, IAD, and BWI. But we even look at Philadelphia, Newark, and JFK for big international journeys. Sometimes flying into or out of a different city saves hundreds, or even thousands.
- Factor in opportunity costs: time and transportation to a different airport, forfeiting a day on your trip, or putting off a bucket-list destination for a cheaper option.
If we’re not ready to book, we set price alerts and monitor them regularly. But we don’t wait forever. Once we see a good fare that fits our plan, we book, ideally with a flexible change or cancellation policy.
2. Book Points Well in Advance or for Last-Minute Deals
Award space is unpredictable and there are usually just a few seats available, especially in business or first class. Booking as far in advance as possible is a good strategy. On the flip side, award seats often open up closer to departure. Cash fares for those seats can be outrageously high last-minute, but points bookings can be a smart workaround.
We’ve booked long-haul lie-flat seats using points just days before departure on routes that showed nothing months earlier. On our last trip, we needed to reroute at the last minute due to a hurricane. No business class options showed up on points initially. When we checked again two days before departure, we had a few great options. The key is to have a refundable Option A flight in place already. If a great points deal pops up last minute, great. If not, you still have a plan.
3. Check Airline Partners Before Booking With Points
You don’t always get the best deal by booking on points directly through the airline you’re flying. We’ve flown Qatar Qsuites by booking through American Airlines for fewer miles. We’ve used United points to fly SAS through Scandinavia (when they were still Star Alliance), and Virgin Atlantic points to fly Delta. All of those were better value than going direct.
If you have transferable credit card points (Chase, Amex, Capital One, or Bilt), take the time to compare award rates across partners. You’ll also want to check fuel surcharges and taxes. Some partners charge next to nothing, and others tack on hundreds. Airports matter here too. (We’re looking at you, London Heathrow.)
Pro tip: Some airlines hide partners from searches or list them lower down. Look for options to search all airlines or filter by price.
4. Understand the Value of Refundable Fares
Basic economy isn’t always the cheapest option once you factor in seat selection, carry-on limits, and change fees. Always compare the price difference between basic and main cabin fares, especially if you’re traveling with bags or want flexibility to rebook.
We typically don’t book basic economy because it’s just not worth it, especially when airlines are cutting back on miles awards and elite credits for low fares. A fully refundable fare is often too pricey, so we go with a flexible fare that allows for free changes and an airline credit for cancellations. This also lets us rebook if the price drops and receive a credit for the difference, or take a credit and jump on one of those last-minute points deals.
Pro tip: Pay attention to travel credit expiration dates. It’s an annoying factor that sometimes limits the value of a flex fare, especially since we like to book well in advance.
5. Try Upgrade Bidding for Business Class Seats
Upgrade bidding is still one of the best ways to get into business class without paying full price. After booking an economy ticket, many airlines let you submit a bid for a seat in business or premium economy. You choose how much you’re willing to pay, and if your bid is accepted, you get the seat. If not, you keep your original booking.
We’ve flown lie-flat to Europe for under $500 extra this way. Note that we generally book premium economy, and acceptable upgrade bids tend to be higher from regular economy. It works best with airlines like SAS, Lufthansa, and TAP, which have a built-in upgrade bidding system. United is great for outright purchasing business class upgrades at any time. We’ve had luck within 24 hours of departure for $400 to $500 each.
6. Use the Airline App for Everything
Once we book, we immediately download or open the airline’s app. From there, we confirm seat assignments, double-check our frequent flyer number is attached, monitor schedule or gate changes, and track upgrade eligibility. Apps are usually faster than email or text alerts for changes.
Pro tip: Check for better seats within 24 hours of departure when elite and business travelers are making changes or getting upgrades. You’d be surprised how many premium seats open up during this window.
7. Know When to Book and When to Wait
We usually set price alerts in Google Flights 10 months before travel so we can watch for drops. The general rule is to book domestic flights 30 to 90 days out and international travel 4 to 6 months in advance. Many major airlines publish fares 10 to 11 months in advance. Early prices can be unusually high or low because dynamic pricing hasn’t factored in demand yet. We jump on low fares at this point but wait when they’re unusually high.
Once we book, we keep checking, especially on flexible fares. If the price drops, we cancel and rebook, then bank the difference as a flight credit. If you can’t cancel and rebook, it doesn’t hurt to ask the airline for a credit to cover the price drop.
8. Book Flights Direct With the Airline When Possible
Unless we’re using points through a credit card portal or find an extremely good fare through a third-party booking site, we always book flights directly with the airline. Booking direct gives us easier changes and cancellations, better rebooking support during delays, and a higher chance of getting upgraded and earning full loyalty credit.
Third-party booking sites are sometimes cheaper, but they often make customer service harder, especially when you need to change something last-minute or deal with a schedule change. The few dollars saved aren’t usually worth the hassle.
9. Check All Available Departure Airports, Even If You Have to Transit
We fly out of all three DC airports, as well as Richmond, Newark, and Philadelphia on occasion. We choose our departure point based on price, flight times and routes, cost to transfer, and arrival airport convenience. Opening up your options can lead to cheaper flights or better routes with less hassle.
For example, we couldn’t get a direct flight to Doha from DC, so we took Amtrak up to Philadelphia. For us, that was more convenient than splitting the flight into segments with layovers. It was actually cheaper too.
10. Check In Online As Early As Possible
We always check in as soon as online check-in opens, usually 24 hours before departure, though some international airlines open it earlier. It locks in your seat assignment so you’re less likely to get bumped or reassigned. You might also catch an earlier upgrade window, and if anything is off with your reservation, you’ll catch it before you’re standing in line at the airport.

🏨 How to Book Hotels Smarter
We book a lot of hotels every year, from weekend breaks to long-haul getaways, from independent boutiques to big-brand resorts. After hundreds of nights on the road, we’ve learned which hotel strategies actually make a difference when booking and during the stay.
1. Book Early and Keep an Eye on Prices
Nonrefundable bookings are tempting to save a few bucks in the short term, but we always book flexible rates when we can and it winds up saving us money in the long run. Hotel prices tend to go up, especially in popular destinations, but they do fluctuate. Booking flex rates early gives you access to potentially better rates and rooms, and the ability to recoup your investment if prices drop or plans change.
We set up a calendar reminder to check back every couple of weeks. If the price drops, we cancel and rebook. It’s the same hotel and same room, but for less money. This works with cash and points bookings, as long as the rate is refundable.
2. Book Direct With Major Hotel Brands for Perks and Protection
If you’re staying at a big brand like Marriott, Hyatt, Hilton, or IHG, book direct unless there’s a compelling reason not to. Also make sure you research which brand your hotel is part of. Booking through third-party sites often means you miss out on key perks. Booking through the hotel’s own site usually means:
- You earn points and elite night credits.
- You qualify for upgrades, breakfast, and other elite perks.
- You have better customer support if anything goes wrong.
We’ve had more than one situation where elite benefits weren’t recognized on third-party bookings. Booking direct also makes it easier to request room changes, resolve billing issues, or check in early.
3. Know When to Book Through a Third Party
All that being said, we still use Booking.com all the time, especially for independent or boutique hotels where the direct booking terms are strict or vague. Third-party sites often offer better cancellation flexibility, delayed or no up-front payment, easier changes, and support if something goes wrong.
But you still need to read the fine print: when your card will be charged, whether there are extra fees, how to cancel, and what refund method is offered. We also use Booking.com as a starting point for reviews regardless of where we end up booking. It prompts reviewers to add a pro and a con, which gives a more realistic picture than a straight rating.
Note: Use a card with no foreign transaction fees. We got hit with a 3% charge once when our Booking.com transaction occurred in Europe, even though we booked from home in the US.
4. Watch for Hidden Fees
A great hotel rate might not be so great once you add resort fees, service charges, and taxes. Always click through to the final booking screen to see the real total. Look for parking fees, urban destination fees, or housekeeping charges. Check whether breakfast or Wi-Fi is included or an add-on. If it’s an add-on, we usually pass and find something cheaper and more local nearby.
5. Always Check the Real Photos
The official photos on booking sites are always the best room on the best day with heavy filtering. We still use TripAdvisor, not for its reviews (which have become less reliable), but for the traveler photos. Real photos tell you the true story: bathroom quality, how worn the rooms actually are, whether there’s a view or you’re staring at an alley wall, and the overall vibe.
6. Don’t Skip the Front Desk
We almost always check in in person, even with mobile check-in available. This is especially true when we’re arriving early and hoping to get into a room ahead of schedule, asking about upgrades or better floors, or want information about the neighborhood or property layout. We’ve seen how mobile check-in can backfire. Once you’re assigned a room through the app, it’s harder to switch, especially if you’ve already triggered keyless entry.
When is digital check-in better? If we’re not worried about the room assignment, we’re landing at midnight and just want to crash, or there’s a really long line, we’ll skip the front desk.
7. Don’t Be Afraid to Ask for an Upgrade
Even if you have status, upgrades aren’t always automatic. And if you don’t, you can still politely ask. Timing matters. If you’re checking in late afternoon or at night, the hotel has a better sense of inventory. Be polite, flexible, and avoid entitled vibes. If you’re going to be seriously disappointed without the better room, book it outright rather than bank on an upgrade.
8. Always Get Your Final Bill and Fully Check Out
Even if you didn’t charge anything to your room, always request a printed or emailed bill at checkout. We’ve caught charges accidentally added to our folio, elite perks not applied, and minibar auto-charges when we moved an item but didn’t consume it. It’s much easier to resolve issues at the front desk before you leave than to try and call later.

📲 11 Best Travel Apps for International Trips
Logistics can make or break a trip abroad. We’ve spent years testing different tools to see which ones provide real value. From tracking your specific aircraft to navigating ground transportation to napping in a high-priced city for a fraction of the cost, these are the apps we rely on every time we leave the country.
1. FlightAware
This is the most accurate tool we’ve found for staying ahead of airline delays. Most airline apps are slow to update because they don’t want to announce a delay until they absolutely have to. FlightAware allows you to track your plane in real time.
If you see your aircraft is still two states away and your departure is in 30 minutes, you know a delay is coming long before an official announcement. We used this in El Salvador. We tracked our incoming flight, saw it was significantly behind schedule, and stayed with our driver for a bonus tour of San Salvador instead of sitting in a cramped terminal. It eventually turned into a six-hour delay, but tracking the plane ourselves made us comfortable enough to enjoy the city.
A word of caution: Airlines can occasionally swap planes or correct delays at a moment’s notice. Stay alert and don’t stray too far from your transportation.
2. SeatMaps and AeroLOPA
SeatGuru was the gold standard for years, but it’s now officially defunct. We’re currently using SeatMaps and AeroLOPA. Both provide highly accurate seat maps with dimensions and show you exactly where windows align and which seats have restricted recline.
AeroLOPA has beautifully designed maps with details like whether there are USB outlets or individual air vents. SeatMaps is better at providing ratings for each seat based on recline, window alignment, and unfavorable spots on the aircraft. We look at both.
3. Google Translate
We used to pay for specialized translator apps, but Google Translate is now our go-to. The live-translate mode is a lifesaver when you need to have a detailed interaction with someone who doesn’t speak your language. Even if you have a baseline knowledge of a language, it comes in handy for specific logistics.
Pro tip: Download the language for your destination in advance so the app works even if you lose cell service or don’t have a local SIM card yet.
4. TripIt
TripIt builds your itinerary for you by scanning your confirmation emails. It keeps your flights, hotel stays, and car rentals in one place without you having to manually enter a single date. It’s especially useful for complicated multi-city itineraries with various train and hotel bookings that would otherwise be a mess to track.
The downside: You’ll need to edit it when you change planes or accommodations or when flight times change. But that’s way easier than putting together itineraries from scratch.
5. Dayrooms and Dayuse
We used Dayrooms to save big during a long layover in Stockholm. We arrived at 7 am after a red-eye and couldn’t check into our actual hotel until 4 pm. Instead of wandering the city in a jet-lagged haze, we booked a room for a few hours to reset. We paid $60 USD for 5 hours. That’s a bargain in Sweden. Dayuse offers the same service and may have different hotels available.
6. Your Specific Airline App
You should always have the app for whatever airline you’re actually flying. Most allow you to handle check-in, seat selection, meal selection, and bag tracking. If your flight is cancelled or delayed, the app is often the fastest way to rebook or request vouchers without waiting in a massive line.
Our take: The United Airlines app is our gold standard. It’s the most functional and user-friendly for making seat changes and managing upgrades.
7. Rome2Rio and Official Transit Apps
We use Rome2Rio as a starting point to cut through the noise of planning transit. It shows every possible way to get from point A to point B, whether that’s bus, train, ferry, or flight, and gives you a ballpark cost. Once we see the route, we look at the specific journey on Google Maps. At the bottom of the screen, you’ll see agency info and a web address. Go to the official site and download their specific app.
In France, we always use the SNCF app for the best rates and most accurate schedules. Booking directly through the agency app makes it much easier to handle refunds or schedule changes. This was a lifesaver in Scotland on ScotRail when our train was cancelled mid-journey.
8. Citymapper
In major cities like London, Paris, or New York, Citymapper is significantly more reliable than standard maps. It tells you exactly which subway route to take and which car to board so you’re closest to your exit. It also gives better real-time data on bus and train arrivals. We even use it at home in DC.
9. WithLocals
We love WithLocals because it’s like the Uber of private tours. We’ve used it in Lisbon, Malaga, Buenos Aires, Scotland, and Mexico City to find amazing food journeys. The tours are always private for your group, so you aren’t stuck with 20 strangers following a flag. Read reviews carefully and look for hosts described as a friend showing you their town rather than someone doing the bare minimum at tourist spots.
10. XE Currency Converter
We’ve relied on XE Currency Converter for years to check exchange rates quickly. XE uses the most accurate bank rate, which helps you decide if a local exchange rate is giving you a fair deal. It also comes in handy at restaurants. Always deny the dynamic currency conversion the ATM offers. Your bank will give you a better rate.
11. WhatsApp
Outside of the US, WhatsApp is the default way the world communicates. It’s free and works over Wi-Fi, meaning you don’t need a massive international roaming plan to stay in touch. Almost all of our Airbnb hosts, drivers, and tour guides use it. In Barcelona, our driver used it to send us a photo of exactly where he was standing in the arrivals food court. It saved us from wandering around looking for a name on a sign.
🚊 10 Airport and Transit Tips for Smoother Travel Days
Over time, we’ve found a handful of airport and transit habits that reliably make travel days easier. They help us get through lines faster, make better choices on the ground, and arrive a little less frazzled.
1. Take the Earliest Flight You Can Reasonably Handle
It’s not fun waking up at 4:30 a.m., but first flights are almost always the most reliable. You beat weather delays, crew timeouts, and the domino effect of late aircraft. We’ve avoided more missed connections and rebookings this way than we can count. We’ve had days when we couldn’t keep our eyes open at the destination, but at least we were already there.
2. Don’t Blindly Follow the Herd in Lines
We’ve seen it too many times: a huge line at a check-in counter or security while other lines were empty. Don’t be afraid to investigate. If the CLEAR line is backed up, and it often is, TSA PreCheck alone is usually faster. We’ve walked past 20 people waiting for a CLEAR agent while PreCheck was moving quickly right next to them. Look at the line and move with intent.
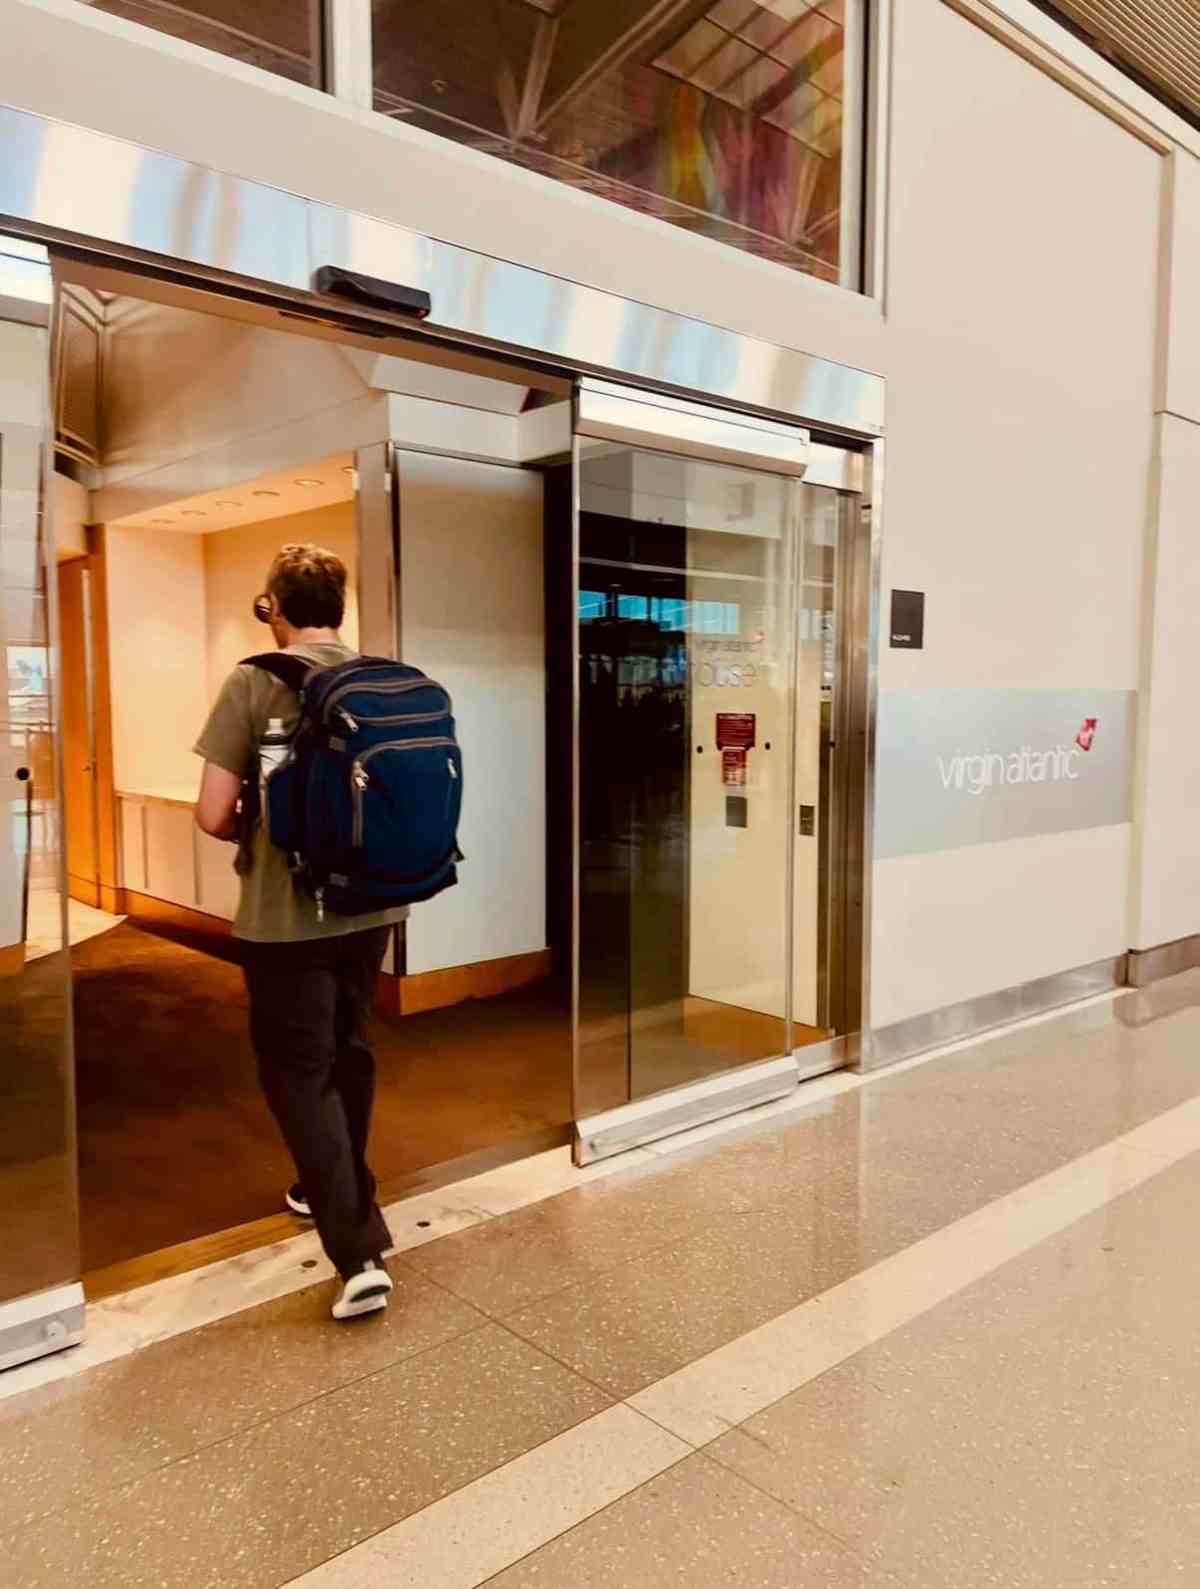
3. Don’t Count on the Lounge
We almost always opt for the lounge, especially on long layovers before international flights. But overcrowding is real. Some airports, like Paris Orly, have lovely cafes and green spaces where you can get a snack, a coffee, or a glass of wine for cheap and just relax.
- Sometimes you can check into the lounge through your app up to 30 minutes before your entry time.
- Don’t be afraid to walk a little farther. The Priority Pass lounge at the end of the terminal is often quieter and better stocked than the one right near security.
- Look for quiet, comfortable alternatives when lounges are overcrowded. Newer airports are often designed with this in mind.
👉 Best Lounges at Washington Dulles Airport and How to Get In
4. Know Your Airline’s Carry-On Bag Rules
We rarely check a bag, but even for carry-on-only trips, we check every airline’s weight and size rules before we fly. Especially in Europe and Asia, some airlines have shockingly low carry-on weight limits. 7 to 8 kg (15 to 17 lbs) is not uncommon, and that sometimes includes your bag and personal item combined.
Don’t assume your usual carry-on is fine just because it fits in the overhead. We’ve seen passengers pulled aside at the gate and charged $50 or more for a bag that looked totally reasonable.
5. If You Do Check a Bag, Have a Plan
When we need to check a bag, we take photos before we check it. We also use AirTags or Tiles to track it independently, keep essentials in our carry-on including meds and a change of clothes, and avoid short connections or separately booked legs.
6. Address Your Stressors
Our weakness is boarding-time anxiety. We both get it. Boarding is chaos, so we’ll pay extra for early boarding or a preferred seat just to avoid the rush and make sure there’s overhead space. Know yourself and plan ahead for a few extras that will reduce your stress. Don’t spend the first 20 minutes of your trip stressed out about bin space or being last to board. If paying a little more helps you stay calm, it’s worth it.
7. Ask for an Upgrade While You’re Waiting
Sometimes a good use of your airport time is stopping by the check-in counter or gate to see if there are any premium seats available at a discounted price. Airline seating can be fluid until boarding, and airlines would rather sell an empty seat than leave it empty. Check in with the agent once they’ve finished their initial flight setup but before boarding begins. We’ve secured cheap business class seats on international flights simply by asking at the desk.
👉 How to Get a Business Class Upgrade Without Paying Full Fare
8. Research Ground Transportation Before You Land
This is really important, especially after long international flights. If we fail to have a ground transportation plan, arrival is often chaotic and we’re exhausted. We’ll significantly overpay or wind up waiting around too long. Before you land, check whether there’s an airport train or metro, what the local rideshare options are, how much a fixed taxi fare should be, and whether hotel transfers are a good trade-off for convenience.
Know your rideshare options and download the app in advance. In Southeast Asia, we use Grab. In parts of Europe, Bolt is better than Uber. In places like Oslo, Paris CDG, Kuala Lumpur, and Toronto, the train is the fastest, cheapest, and most convenient way to get to town.
Note: We’re no longer arranging private transfers through Viator or Booking.com. More than half the time, the driver doesn’t show up or there’s a long confusing wait. Rideshare is almost always cheaper and easier.
9. Public Transit Can Be a Great Option
This is another reason we love packing light. We’ll take the train, metro, or walk to our hotel if it’s reasonable, especially in cities where airport traffic is slow or taxi queues are long. As long as there’s a direct line or minimal transfers, we’d rather have an adventure on public transport than sit in traffic for an hour. Always download Google Maps offline for the area and check city-specific apps like Citymapper or local transit apps for schedules and tickets.
10. Mobile Passport Is Still a Great Hack in the US
We don’t use it anymore since we both have Global Entry, but we’re still amazed at how many people don’t know about the Mobile Passport Control app. It’s a free app approved by US Customs and Border Protection. You fill out your declaration, submit it up to four hours before landing, and get access to a separate line at immigration. That line is usually way shorter than the standard line and sometimes even the Global Entry line.
If you’re not eligible or ready to spend $120 and wait for a Global Entry interview, use this app instead. It’s available to US citizens, lawful permanent residents, and some Canadians.
👉 TSA PreCheck, Global Entry, and Clear: Which Is Actually Worth It?
🧳 Want to Travel Better Every Trip?
These are the habits and strategies we rely on again and again. A few took years to refine, but they’ve helped us save money, avoid frustration, and travel more comfortably. If you liked this guide, make sure you’re subscribed for more travel tips on points and miles, packing, flights, hotels, and making every trip go a little more smoothly.
What’s your top tip for smoother travel? Let us know in the comments.
Read These Smart Travel Guides Next


